 Save to Pinterest
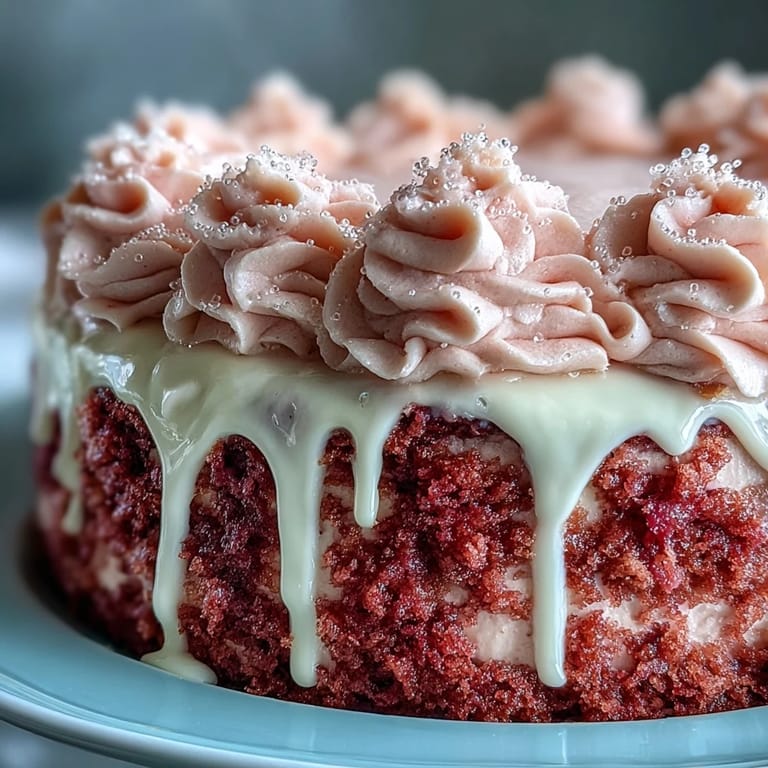
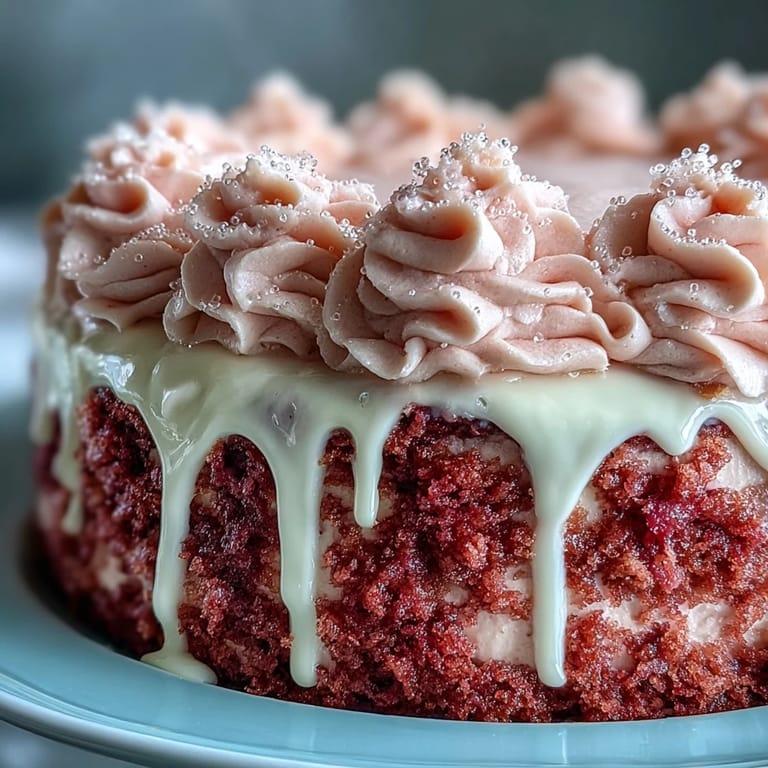
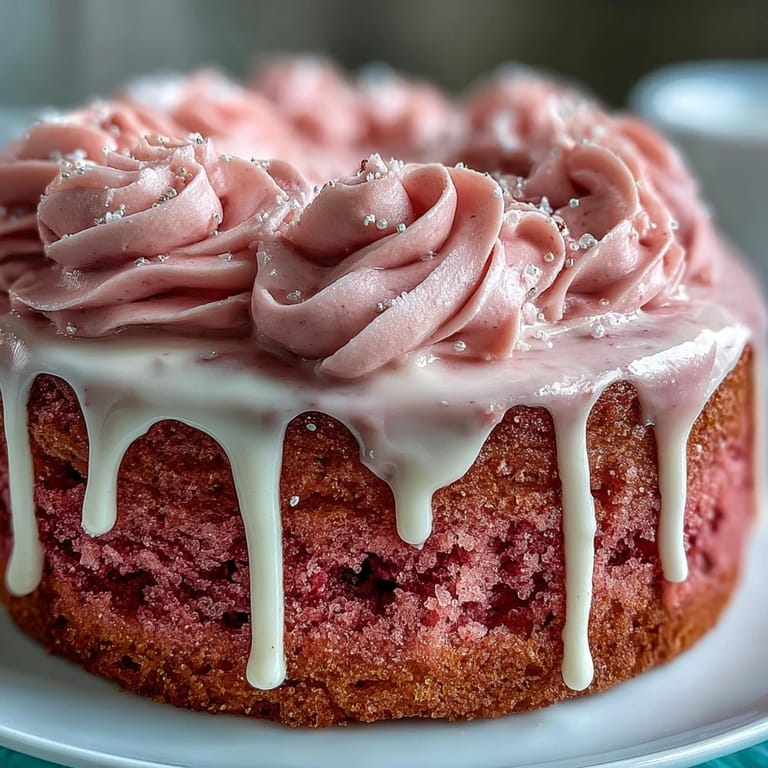
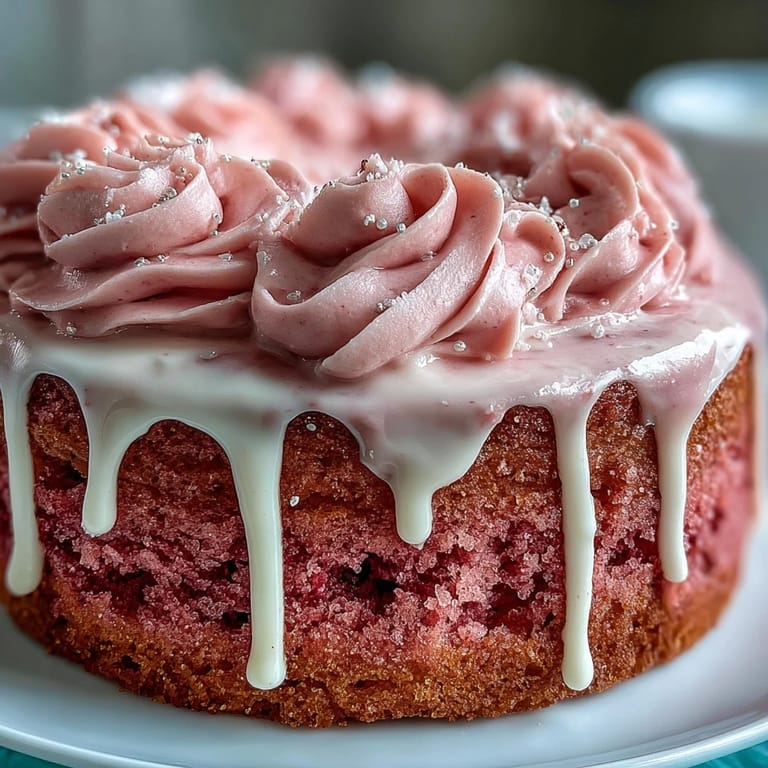
 The first time I baked this blushing Rosé Velvet Cake, the kitchen filled with the softest scent of vanilla and wine, making the whole house feel a bit more festive. I remember how the batter shimmered under the lights as I mixed in a whisper of pink gel color, pausing to admire the delicate blush it became. There was a hush, almost reverent, as the gold drip slid gracefully down the frosted sides—more art than dessert at that moment. I'd always seen awe-inspiring cakes in magazines and doubted I'd ever manage one myself; this recipe changed my mind. It’s the kind of cake that invites you to slow down, savor the ritual, and celebrate every swirl and sprinkle of gold dust.
I baked this cake for my best friend's bridal shower and we all stole forks from the table to sneak tastes straight from the stand before dinner. Laughter echoed around the room whenever someone caught a little pink frosting on their nose, and it quickly became the centerpiece of our stories through the night. It wasn’t just the look of the cake but the memory of standing together in the kitchen—pink-stained fingertips and a paintbrush dipped into edible gold—that made it unforgettable.
Ingredients
- All-purpose flour: Use a spoon to lightly fill your measuring cup for an airy, tender crumb—my first time, I packed it too tightly and the cake came out dense.
- Granulated sugar: This ensures a sweet, delicate balance without overpowering the rosé notes.
- Baking soda and baking powder: These leaveners work together to help the layers stay lofty and light.
- Salt: Just a pinch brightens all the flavors so nothing falls flat.
- Unsweetened cocoa powder: A little cocoa deepens the color and adds a hint of complexity, even though you hardly taste chocolate in the end.
- Unsalted butter: Softened butter creams best, giving your cake its fine, rich crumb—if you forget to leave it out, a quick microwave “soften” works in a pinch.
- Buttermilk: Bring it to room temperature so it blends smoothly; cold dairy will clump the batter.
- Rosé wine: Choose a floral, light rosé—if you wouldn’t drink it, don’t bake with it.
- Eggs: Room temperature eggs create an even, velvety texture throughout.
- Vanilla extract: Always use pure vanilla for a grown-up, fragrant finish.
- White vinegar: This unexpected addition reacts with the baking soda to give your cake lift and a subtle tang.
- Pink food coloring gel: Go slow; just a drop or two turns the whole batter the prettiest blush.
- Cream cheese: Let it soften thoroughly for a lump-free, dreamy frosting.
- Powdered sugar: Sift it first to avoid gritty frosting; lumps are nearly impossible to fix later.
- Heavy cream: Needed to loosen the chocolate for the gold drip—too much and it runs, too little and it won’t cascade prettily.
- White chocolate chips: Choose high-quality chips that melt easily for the smoothest drip.
- Edible gold luster dust: This transforms your cake into a statement at any celebration.
- Vodka or clear extract: These evaporate quickly, making the gold paint set and shine without smudging.
Tired of Takeout? 🥡
Get 10 meals you can make faster than delivery arrives. Seriously.
One email. No spam. Unsubscribe anytime.
Instructions
- Prep the pans:
- Line three 8-inch pans with parchment and grease the sides so your cakes release perfectly—watching them tip out whole is always a thrill.
- Sift dry ingredients:
- Whisk together flour, cocoa, salt, baking powder, and baking soda so you never get dry streaks in the finished cake.
- Cream butter and sugar:
- Beat butter and sugar until super light; it should look pale and fluffy, almost like whipped cream, setting the stage for a tender crumb.
- Add eggs and vanilla:
- Beat eggs in one by one, then splash in vanilla, enjoying how the scent opens up instantly.
- Combine liquids and assemble batter:
- In turns, add buttermilk, rosé, and vinegar; then gently stir in the dry mix, stopping when just combined. Swirl in pink gel a drop at a time until it glows like a spring bloom.
- Bake:
- Divide batter evenly and bake 30–35 minutes; when the kitchen smells sweet and a toothpick comes out clean, they’re done.
- Cool the cakes:
- Let cakes rest in the pans for 10 minutes before flipping onto racks—impatience here leads to broken layers, trust me.
- Make the rosé cream cheese frosting:
- Beat softened cream cheese and butter until dreamy, shower on the powdered sugar, then add rosé and vanilla for lush, fluffy pink perfection.
- Assemble and frost:
- Level the cooled cakes if needed, then stack with swirls of frosting between each, finishing with a generous cloud on top. Chill with a crumb coat first so the final layer goes on smooth.
- Create the gold drip:
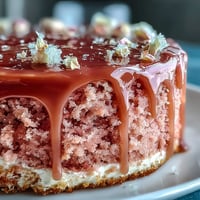
- Melt white chocolate chips with cream, let cool, then drip artistically over the cake’s edges using a spoon or bottle.
- Paint on the gold:
- Mix luster dust with vodka and gently brush the chilled drip for a magical golden shimmer—the cake now looks truly regal.
- Chill and serve:
- Refrigerate the cake before cutting; this ensures neat layers and a dramatic reveal with every slice.
 Save to Pinterest
  Save to Pinterest
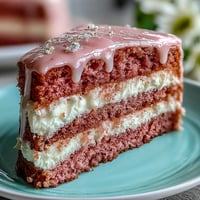
 There’s something about seeing the first slice lifted out—blush layers, gold gleaming—while a room of friends gathers and grins, that makes this cake feel much bigger than dessert. It isn’t just for special occasions; it creates them.
Making the Cake Your Own
The first time I made this, I scattered edible flowers across the finished cake just for the joy of it and every time the look changes, it gathers new compliments. Try tucking a few fresh raspberries between the layers or atop the gold drip—each garnish brings its own tiny thrill and a burst of color.
Troubleshooting Your Gold Drip
My initial attempts at the gold drip were more enthusiastic than precise, but I learned that the perfect temperature is key—the chocolate should barely flow, not run. A smaller spoon or squeeze bottle gives you better drip control, while chilling the cake first ensures crisp, regal drips that won’t slide to the base.
Big Day, Small Wins
Even when little things go awry—a cake dome, a lopsided layer, a shaky hand painting gold—embrace it; your guests will notice only the love and sparkle. If a layer breaks, patch it with frosting and add extra flowers or berries on top. And remember, this cake’s joy comes just as much from making as from slicing and sharing.
- Decorate while the gold paint is still fresh for the brightest shine.
- If pink food gel is unavailable, use a mix of red and a hint of yellow for a custom blush.
- Keep leftovers covered in the fridge to enjoy luxurious slices for days.
 Save to Pinterest
  Save to Pinterest
 This Rosé Velvet Cake brings a little magic and a lot of sparkle to any celebration—may every slice be the start of a happy memory.
Recipe FAQs
- → Can I make a non-alcoholic version?
Yes. Substitute the rosé with equal parts sparkling grape juice or a concentrated white grape juice. Use the same amounts in both the batter and frosting, and brush layers lightly with the non-alcoholic liquid to retain moisture and flavor.
- → How do I get a stable cream cheese frosting?
Beat room-temperature butter and cream cheese until smooth, then add sifted powdered sugar gradually. Keep the frosting cool and chill briefly after the crumb coat. Using cold tools and chilling between layers helps the frosting hold clean edges during assembly and decorating.
- → What's the best way to achieve an even blush color?
Use a concentrated gel or paste coloring and add it in very small amounts, mixing thoroughly between additions. Gel colors give more control without thinning the batter; aim for a soft tint so the cocoa and rosé tones still come through.
- → How is the gold drip made and applied?
Warm white chocolate with heavy cream until smooth and cool to room temperature for a controlled drip. Pipe or spoon along the edge to create drips, chill to set, then mix edible gold luster dust with a small amount of vodka or clear extract to paint the set chocolate for a metallic finish.
- → Can I make this ahead and how should it be stored?
You can bake layers a day ahead and wrap them tightly once fully cooled. Assemble and frost the cake the next day, keeping it refrigerated between steps. Finished cakes keep covered in the fridge up to 3 days; bring to room temperature 30–60 minutes before serving for best texture.
- → Any tips for clean layers and neat slicing?
Level layers with a serrated knife or cake leveler, chill the stacked layers briefly after the crumb coat, then chill again after final frosting. Use a hot, clean knife wiped between slices for tidy portions and minimal crumbs.