 Save to Pinterest
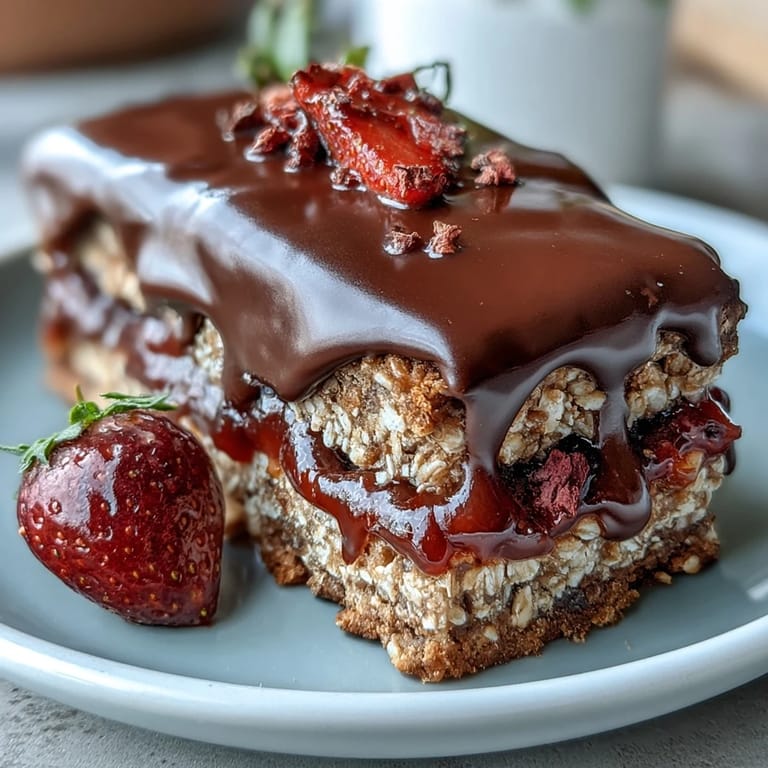
 There's a moment in every baker's life when they realize the best desserts don't require an oven—and these chocolate-dipped strawberry oat bars were mine. My sister brought them to a summer picnic, still cold from the fridge, and watching people's faces light up as they bit through that crispy chocolate shell into the chewy oat layer felt like a small victory. No complicated techniques, no waiting for things to bake, just honest ingredients layered with intention and patience.
I made these for the first time on a rainy Tuesday when I needed something to do with my hands and my thoughts were too scattered for actual cooking. There was something grounding about pressing the oat mixture into the pan, feeling it stick to my fingers, spreading that jewel-toned strawberry jam in even strokes. My teenage nephew came home from school, smelled the chocolate melting, and we ended up sitting at the kitchen counter sampling them straight from the fridge like we'd discovered something secret.
Ingredients
- Old-fashioned rolled oats (2 cups): Use the thick-cut kind if you can find them—they hold their texture better and give you more pleasant chewiness than quick oats ever could.
- Almond flour (1 cup): This is what keeps the bars from being too dense, binding everything with a subtle nuttiness that works beautifully with chocolate.
- Creamy peanut or almond butter (1/2 cup): Choose one you actually enjoy eating straight from the jar, because that's the quality you're getting here with no heat to mellow it out.
- Pure maple syrup or honey (1/4 cup): This is your moisture and sweetness—the difference between bars that crumble and bars that stay together is often here.
- Coconut oil, melted (1/4 cup): It helps everything bind together and adds just enough fat to make these bars feel indulgent without being heavy.
- Vanilla extract (1/2 teaspoon): A small amount deepens the whole flavor profile in a way that seems invisible until it's missing.
- Salt (1/4 teaspoon): Don't skip this—it's the magic word that makes everything taste like it belongs together.
- Strawberry preserves (3/4 cup): Lower sugar versions taste brighter and let the fruit shine instead of just adding sweetness on top of sweetness.
- Freeze-dried strawberries (1/2 cup, lightly crushed): They add texture and genuine strawberry flavor that fresh berries can't give you in a no-bake situation.
- Semi-sweet or dark chocolate (6 oz, chopped): Break it into pieces rather than using chips—they melt more evenly and set with a better snap.
- Coconut oil for chocolate (1 tablespoon): This makes the chocolate dip glossy and easier to work with without changing how it tastes.
Tired of Takeout? 🥡
Get 10 meals you can make faster than delivery arrives. Seriously.
One email. No spam. Unsubscribe anytime.
Instructions
- Prepare your pan like you mean it:
- Line an 8x8-inch square pan with parchment paper, letting it overhang on two sides so you can lift the whole thing out later without regret. This step feels small but it's what separates clean bars from a crumbly mess.
- Make the oat mixture come together:
- Combine the oats, almond flour, nut butter, maple syrup, melted coconut oil, vanilla, and salt in a large bowl, stirring until everything is sticky and holds together when you squeeze it. It should look like chunky cookie dough that's slightly wetter than you'd expect.
- Build the base layer with intention:
- Press two-thirds of your oat mixture firmly and evenly into the bottom of the pan—use the bottom of a measuring cup to get it really compact. Set the remaining third aside for the topping; it should feel like you're preserving treasure.
- Add the strawberry layer:
- Spread your strawberry preserves in an even layer across the oat base, then scatter your crushed freeze-dried strawberries on top. The freeze-dried berries add texture and keep things from feeling too jammy.
- Finish with the oat crumble:
- Crumble the reserved oat mixture over the strawberry layer and press it down gently so it holds together without compacting as much as the base. You want it to have a bit of texture when you bite through.
- Melt the chocolate carefully:
- Chop your chocolate into pieces and combine it with the tablespoon of coconut oil in a microwave-safe bowl, then heat in 30-second intervals, stirring between each round. Stop before it looks fully melted—the residual heat will finish the job and keep it from becoming grainy.
- Apply the chocolate finish:
- You can either drizzle the melted chocolate across the top in thin lines, or wait until the bars are cut and dip each one partway into the chocolate for that classic look. Either way, work quickly since the chocolate will start to set.
- Let time do the work:
- Refrigerate for at least 2 hours, or until everything feels completely firm when you press it gently. This is when the flavors marry and everything stops being separate ingredients and becomes something whole.
- Cut and serve with ceremony:
- Lift the whole block out using the parchment overhang, place it on a cutting board, and use a sharp knife to cut 12 bars, wiping the blade between cuts to keep edges clean. Serve cold straight from the fridge.
 Save to Pinterest
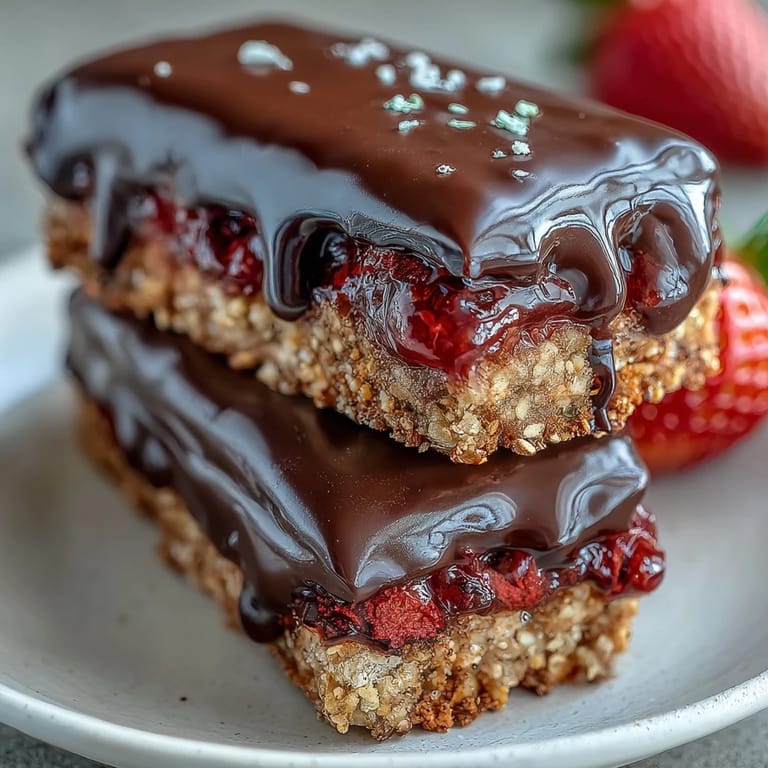
 These bars became something deeper than dessert when my friend with a serious sweet tooth took one and just sat quietly for a minute, the chocolate still soft on her tongue. She said, 'This tastes like you actually made something instead of just assembling it,' which is maybe the highest compliment a no-bake recipe can receive.
Storage and Longevity
Keep your bars in an airtight container in the refrigerator for up to a week, where the chocolate stays crisp and the oat layer maintains its perfect chewiness. If you want them to last longer, they freeze beautifully for several weeks—just separate the layers with parchment paper so they don't stick together. On a practical note, I've learned that bringing them from freezer to fridge 20 minutes before serving gives you that optimal texture without any condensation.
Variations and Substitutions
Once you understand how these bars work, they become a canvas for whatever fruit preserves you have on hand—I've made versions with raspberry, apricot, and even blackberry jam with equally delicious results. For a nut-free version, swap the almond flour for oat flour and use sunflower seed butter or tahini instead of peanut butter, and they're just as satisfying. The chocolate topping is flexible too; white chocolate drizzles beautifully if you prefer something sweeter, and milk chocolate brings a nostalgic quality that dark chocolate doesn't.
Why These Bars Work So Well
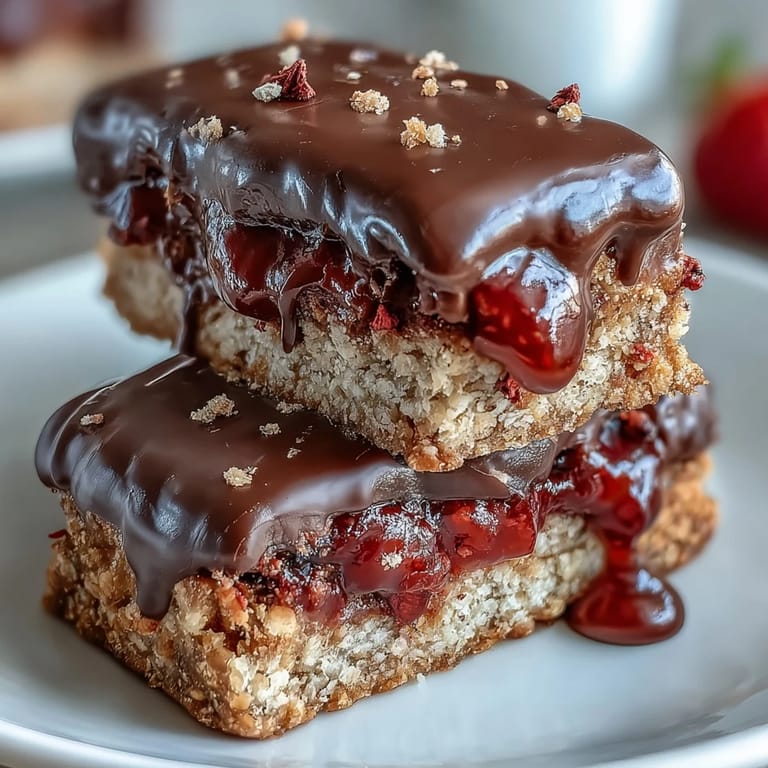
There's something almost meditative about the simplicity here—no eggs to worry about tempering, no oven temperatures to second-guess, just the pleasure of watching layers come together. The oats give you that satisfying chewiness that nobody expects from a no-bake treat, while the freeze-dried strawberries add real fruit flavor instead of the vague berry essence you get from jam alone. What makes people come back for more, though, is that chocolate shell—it snaps between your teeth and then melts into everything beneath it, creating this moment of textural contrast that feels genuinely special.
- Make sure your peanut or almond butter is fully incorporated into the oat base or you'll get pockets of concentrated nuttiness that are jarring rather than pleasant.
- If your jam seems too thick to spread, microwave it for 10 seconds to loosen it slightly, then let it cool before spreading on the oat layer.
- Keep these bars cold right up until you serve them—room temperature makes them soften in a way that loses some of the chocolate snap.
 Save to Pinterest
 These bars are proof that sometimes the best kitchen moments come from constraints, not complexity—from saying yes to what's simple and doing it with full attention. Make them once and they'll find their way into your regular rotation, the kind of thing you reach for when you need something that feels homemade without feeling like work.
Recipe FAQs
- → Can I use different nut butters in these bars?
Yes, peanut butter, almond butter, or sunflower seed butter (for nut-free) work well with the oat base.
- → How should I store the bars to keep them fresh?
Store the bars in an airtight container in the refrigerator for up to one week or freeze for longer storage.
- → What chocolate types can be used for the topping?
Semi-sweet, dark, or vegan chocolates melt smoothly and complement the layers nicely.
- → Is it possible to substitute the strawberry preserves?
Yes, raspberry or apricot preserves can be used for a different fruit flavor.
- → Do I need to bake these bars?
No baking is required; the bars set by chilling in the refrigerator until firm.