 Save to Pinterest
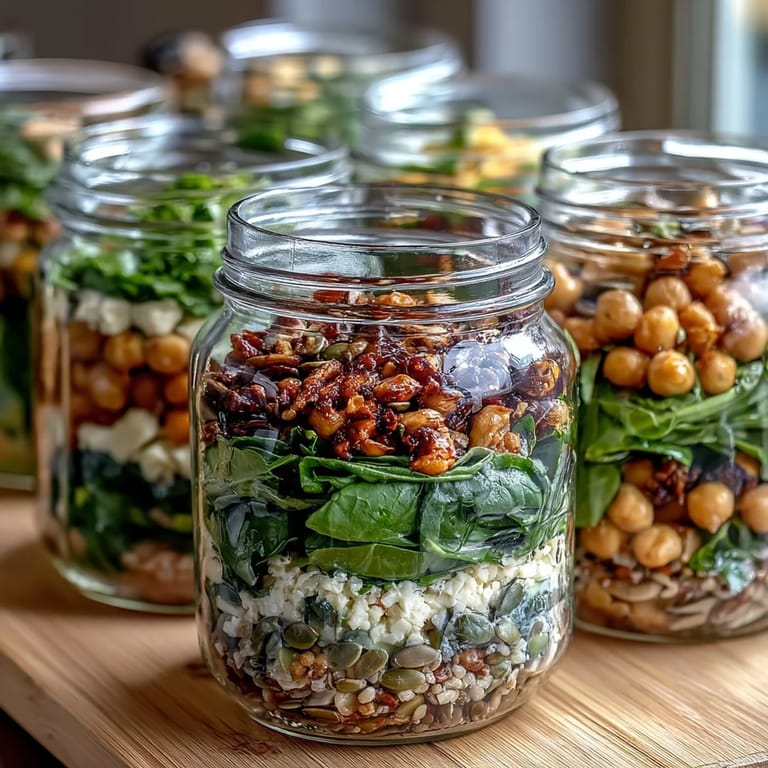
 One early summer, I opened the fridge to find a cluster of mason jars standing like little kaleidoscopes of color—my accidental discovery after running out of lunch containers. I’d been prepping for a busy week, and layering salads in those jars felt both practical and unexpectedly delightful. The gentle clink of glass as I stacked them evoked a satisfying routine, and the crisp, herbaceous scent of freshly torn greens lingered each morning. Since then, prepping mason jar salads has become a ritual, promising a bright meal even on the longest workdays. There’s a quiet magic in uncapping a jar and pouring out a salad that still tastes as fresh as the day it was assembled.
I remember assembling these salads for a road trip picnic, chatting while slicing cucumbers and carrots between travel stories. There was laughter over uneven tomato halves, and someone insisted on adding extra feta—those tiny tweaks made the jars beautifully unique. Each jar was packed with care, sealed, and rested in a cooler, ready to be cracked open on a sunny hillside. The sound of shaking the jars before tossing made everyone smile, and the salads were the centerpiece of our picnic spread. It’s the kind of meal that holds together the memory of easygoing days and good company.
Ingredients
- Baby spinach or mixed greens: Choose the freshest greens you can find—wilting leaves will lose their crunch, so I always look for crispness and deep color.
- Cherry tomatoes, halved: Halving them makes them easier to layer and bite; I discovered they last longer if you wait to salt them until serving.
- Cucumber, diced: Thick coins or petite dice work, but smaller cubes help each forkful feel more balanced.
- Shredded carrots: They add sweetness and crunch, and I grate them just before layering so they don't dry out.
- Cooked quinoa or brown rice (cooled): Always cool grains completely before layering—warm grains steam the other ingredients and ruin the texture.
- Canned chickpeas, drained and rinsed: Rinsing well removes excess salt and gives them a firmer bite, perfect for the base.
- Protein (grilled chicken, feta, or lentils): Mixing up the protein from jar to jar keeps things interesting all week; sometimes I layer leftover grilled chicken or switch to lentils for a plant-based day.
- Red onion, thinly sliced: Pro tip: Soak the slices briefly in cold water if you want a milder flavor, but I love the zing.
- Avocado, diced (add fresh before eating): Avocado turns quickly—if you add it just before serving, each bite stays buttery and vibrant.
- Roasted sunflower seeds or pumpkin seeds: Toasting them in a dry pan for a few minutes brings out deep nutty flavor—add atop the greens as the final layer.
- Olive oil: Choose a robust, fruity oil for the dressing, it makes everything taste brighter.
- Balsamic vinegar: Good balsamic is worth it, and I always whisk extra for later use.
- Dijon mustard: It gives the dressing body and a gentle heat; start with less and taste as you go.
- Garlic, minced: One clove is enough for gentle flavor—too much dominates the salad.
- Salt and pepper, to taste: Simple, but seasoning the dressing well makes all the difference.
Tired of Takeout? 🥡
Get 10 meals you can make faster than delivery arrives. Seriously.
One email. No spam. Unsubscribe anytime.
Instructions
- Get Jars and Prep Veggies:
- Set out your 5 large mason jars and spread each ingredient on a counter like a painter’s palette. Dice, halve, and shred veggies, feeling their coolness and crunch as you work.
- Mix the Dressing:
- Whisk olive oil, balsamic vinegar, Dijon mustard, garlic, salt, and pepper until emulsified—the aromas mingle and sharpen right under your nose.
- Add Dressing to Jars:
- Pour 2–3 tablespoons of dressing into the bottom of each jar, letting the thick golden swirl settle as the foundation.
- Layer Hearty Ingredients First:
- Add chickpeas, cooled grains, carrots, and cucumbers as the base so they soak up flavor and stay firm.
- Add Tomatoes and Onion:
- Gently tuck tomato halves and red onion slices above the base, watching for color contrasts.
- Layer Proteins:
- Slide in your protein choice—chicken slices, feta crumbles, or lentils—nestling them without packing too tightly.
- Finish with Greens and Seeds:
- Pile leafy greens to fill the jar, then sprinkle seeds on top for a crisp barrier.
- Seal and Refrigerate:
- Close lids snugly, marvel at the neat stacks, and refrigerate for up to five days—jars should stay upright and undisturbed.
- Shake or Serve:
- At eating time, shake the jar or dump its contents into a bowl, tossing to mix; add avocado at the last moment for a creamy finish.
 Save to Pinterest
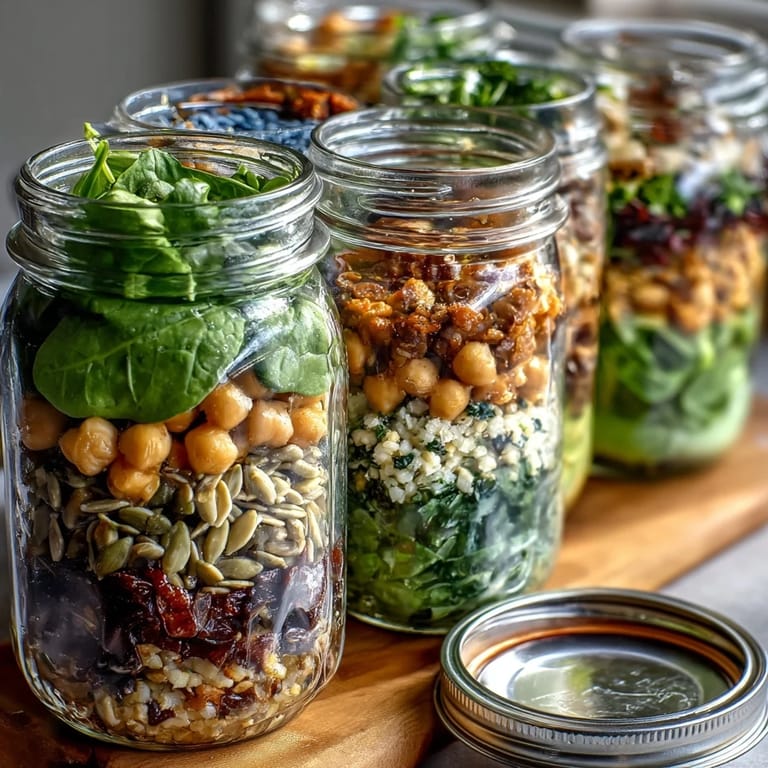
 These salads became more than lunch when I brought them to a community cooking night—everyone reached for a jar, amazed that meal prep could look so inviting. Sometimes food is simply fuel, but these jars were conversation starters, traded between new friends as we shared tips and flavor twists.
How to Customize Each Jar
Every time I prep these, the lineup changes—sometimes a handful of basil, other days roasted tofu or extra cherry tomatoes. The jars have become a blank canvas in my kitchen, perfect when leftovers need transforming or someone wants a spicy kick. There’s fun in mixing and matching, and it keeps weekday monotony at bay.
Meal Prep Tricks That Actually Work
I found that prepping everything at once gives me more freedom during busy weeks, and the jars stay fresh if I stack them in the coldest fridge spot. Washing and spinning greens just before layering avoids limp leaves, and using quart-sized jars helps ensure you get the right balance in every serving.
Timing and Packing for Maximum Freshness
One morning I packed a jar too hurriedly, and the onions slipped below the grains—resulting in overpowering flavor after a day. Taking a few extra minutes to layer properly pays off, with each bite balanced and clean. Always add avocado fresh and resist overfilling—the salad needs breathing room in the jar.
- Use wide-mouth jars for easy removal and mixing.
- Keep seeds and nuts separate if making jars ahead for longer than 3 days.
- Bring extra dressing if you’re serving the salad in a bowl—some like it saucy.
 Save to Pinterest
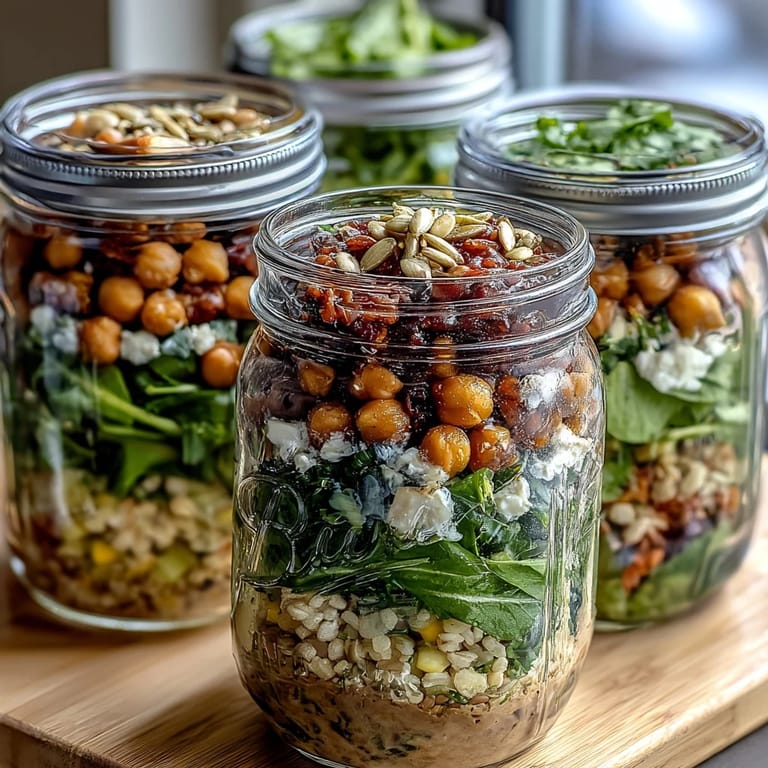
 With every jar opened, I feel a small spark of satisfaction—the week’s meals ready, still enticing and full of crunch. This routine turns even rushed lunches into something joyful.
Recipe FAQs
- → How do I keep the salad ingredients crisp in mason jars?
Layer hearty vegetables and grains at the bottom, place leafy greens at the top, and keep jars sealed tightly in the fridge.
- → Can I customize the protein options?
Yes, choose from grilled chicken, feta cheese, lentils, shrimp, tofu, or hard-boiled eggs to suit your dietary preference.
- → What grains work well in these salads?
Quinoa, brown rice, farro, or barley are excellent choices. For gluten-free, stick to quinoa or rice and verify grain labels.
- → How long can mason jar salads stay fresh in the refrigerator?
Sealed, layered salads will stay crisp and fresh up to five days. Add avocado right before serving for best texture.
- → Is there a vegan option available?
Yes, omit cheese and choose plant-based proteins like lentils or tofu. Use dairy-free dressing alternatives if needed.
- → What tools are needed to assemble mason jar salads?
You’ll need 5 large mason jars with lids, a cutting board, knife, mixing bowls, and a whisk for the dressing.
- → Are there allergen considerations for these salads?
Check all ingredient labels for gluten, dairy, mustard, and nuts/seeds. Swap or omit ingredients if allergies are a concern.