 Save to Pinterest
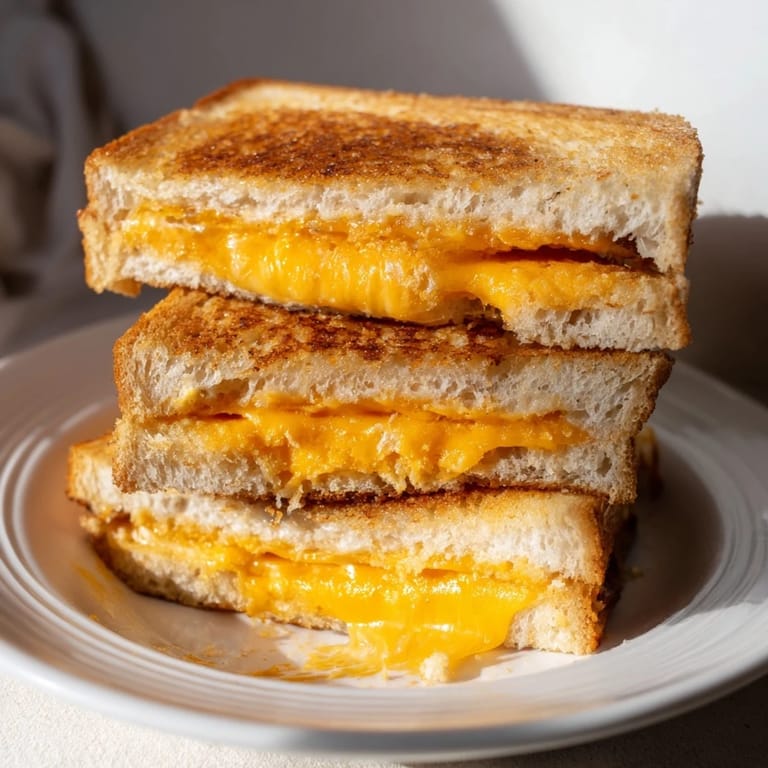
 There's something almost magical about discovering that an air fryer can make a grilled cheese sandwich better than a stovetop ever could. I was skeptical at first—convinced that nothing could replicate the buttery sizzle of a hot skillet—until I tried it one rushed Tuesday morning and suddenly understood why everyone kept raving about this method. The cheese melts evenly, the bread turns impossibly golden without burning, and your kitchen doesn't smell like butter for the next three days. It's become my go-to lunch fix, especially on days when I don't trust myself with a hot pan.
I remember my friend Sarah coming over for lunch and being genuinely surprised when I pulled this out of the air fryer—she'd expected something hastily thrown together, not something that looked like I'd spent twenty minutes perfecting it. That's when I realized this method isn't just convenient; it actually looks more impressive than it should, which makes it perfect for those moments when unexpected guests show up and you want something satisfying without the stress.
Ingredients
- Bread: Four slices of white or whole wheat sandwich bread—whatever you have works, though sturdy breads hold up better to the heat circulation.
- Cheese: Four slices of cheddar or any cheese that melts smoothly; avoid hard cheeses that won't cooperate.
- Butter: Two tablespoons softened unsalted butter spread on the outside of each slice for that golden, crispy exterior.
Tired of Takeout? 🥡
Get 10 meals you can make faster than delivery arrives. Seriously.
One email. No spam. Unsubscribe anytime.
Instructions
- Preheat and prep:
- Set your air fryer to 350°F and let it warm for three minutes while you soften your butter slightly—this makes spreading so much easier. You want it just soft enough that it doesn't tear the bread.
- Butter the bread:
- Spread a thin, even layer of butter on one side of each bread slice, being gentle so you don't create holes. Think of it like you're painting rather than scrubbing.
- Build your sandwiches:
- Lay two slices buttered side down, pile two cheese slices on each, then crown them with the remaining bread, buttered side up. Press down gently so everything feels like one unified sandwich.
- Arrange in the basket:
- Place both sandwiches in the air fryer basket without overlapping—they need room for the heat to circulate all around them. If your basket is tight, you might need to cook them one at a time.
- First side:
- Air fry for four minutes until the bottom is golden and you can hear the faint sizzle when you peek. The bread should already smell toasty.
- The flip:
- Carefully flip each sandwich using a spatula—they're hot and the cheese might be actively oozing, so move deliberately. You'll see how the first side turned out, which is oddly satisfying.
- Finish and serve:
- Air fry the second side for three to four minutes until it matches the first side's golden-brown perfection. The cheese will be bubbling at the edges, which is exactly what you want.
 Save to Pinterest
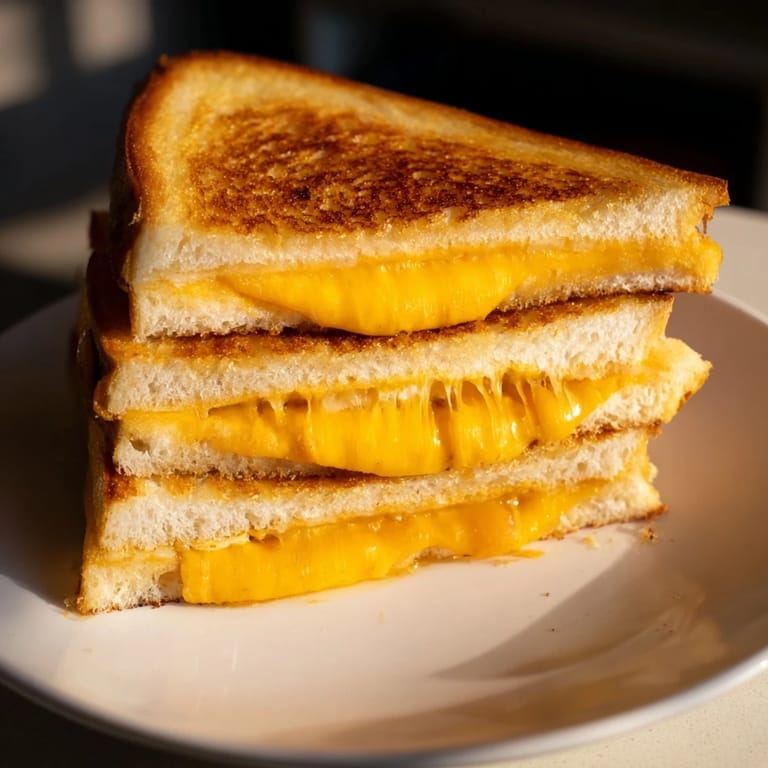
 There's a moment right after you pull these out when the cheese is still molten and the bread is at its crispiest—that's the magic window for eating them. I learned this by getting ambitious about slicing and watching the cheese slide all over my plate instead of staying put, so now I give them exactly two minutes to cool before touching a knife to them.
Why the Air Fryer Wins
A regular skillet makes you constantly manage the heat and rotate the pan to avoid burnt spots, but the air fryer's circulating heat does all that work for you. The dry heat also crisps the bread in a way that butter in a pan simply can't achieve—you get that shattered, delicate crunch rather than a soft, oily exterior. Plus, once you're done, there's no greasy pan to scrub, just a basket that rinses clean in seconds.
Easy Variations to Try
Once you've mastered the basic version, the possibilities open up—I've added thin tomato slices, crispy bacon from the morning, even a tiny sprinkle of Italian seasoning that made the whole thing taste more interesting. Some people swear by using mayonnaise instead of butter on the outside for extra crunch, though I find it makes things slightly greasier without adding much benefit. The beauty of this method is that you can experiment without worrying about timing or heat management throwing everything off.
Storage and Timing Tips
These are absolutely best eaten immediately while the contrast between crispy bread and warm cheese is at its peak—leftovers won't capture that magic, so plan to eat them right away. If you're making these for a group, cook them in batches and have everyone gather as each round finishes rather than trying to coordinate timing for multiple sandwiches at once.
- Assemble sandwiches up to an hour ahead and refrigerate until ready to air fry.
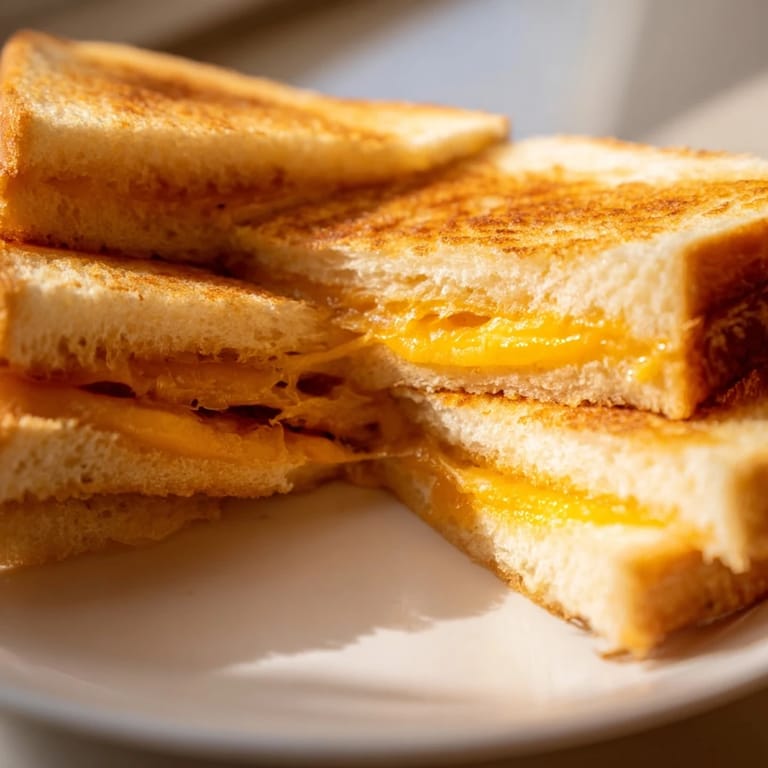
- Slice diagonally for a more satisfying presentation and easier handling of the hot cheese.
- If your air fryer runs hot, start checking at three minutes on the first side to avoid over-browning.
 Save to Pinterest
 This is one of those recipes that reminds you that convenience doesn't have to mean compromising on taste or texture. Every time I make it, I'm grateful for how effortlessly it delivers.
Recipe FAQs
- → What type of bread works best?
White or whole wheat sandwich bread provides the best balance of crispiness and softness when air fried.
- → Can I use different cheeses?
Yes, choose cheeses that melt well like cheddar, mozzarella, or gouda for gooey texture.
- → How do I prevent the bread from getting soggy?
Butter the outside of the bread slices evenly before air frying to ensure a crispy, golden crust.
- → Is flipping necessary during cooking?
Flipping halfway through ensures even browning and melting on both sides of the sandwich.
- → Can I add other ingredients?
Yes, additions like sliced tomatoes, cooked bacon, or herbs can enhance flavor and texture.