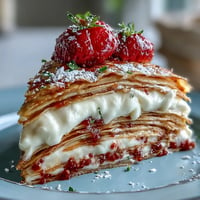
 Save to Pinterest
 Last summer, I was browsing through a luxury food magazine at a café when a photo of these glistening mini cheesecake cups stopped me cold—they looked like something you'd find in a high-end Dubai patisserie, all dark chocolate drizzle and gold leaf shimmer. The funny part was I had no special occasion coming up, yet I found myself mentally planning how to recreate them that very afternoon. What started as curiosity turned into my favorite way to impress people without spending hours in the kitchen, because honestly, these little cups do all the hard work of looking elegant while you're basically just mixing and waiting.
My neighbor knocked on the door one evening asking if I could bring something to a dinner party she was hosting the next day, and I immediately thought of these cups. She took one bite, set it down carefully like she was afraid to disturb it, and asked me to write down the recipe right then—that's when I realized I'd stumbled onto something genuinely special, not just pretty.
Ingredients
- Chocolate digestive biscuits (150 g, crushed): These are the secret to a base that tastes rich without being heavy; crushing them by hand in a bag feels oddly satisfying and keeps the texture from getting powdery.
- Unsalted butter (50 g, melted): The bond that holds your base together, and using unsalted lets the chocolate flavor shine through without competing with salt.
- Cream cheese (300 g, softened): Make sure it's genuinely soft at room temperature, not cold from the fridge, or you'll end up beating it for ages and wondering why it's lumpy.
- Heavy cream (100 ml): This creates that cloud-like texture that makes people close their eyes when they taste it.
- Powdered sugar (80 g): It dissolves instantly into the filling, eliminating any grainy texture that would ruin the experience.
- Vanilla extract (1 tsp): A small pour that somehow makes the entire filling taste more sophisticated and rounded.
- Lemon juice (1 tbsp): This brightens everything and prevents the cheesecake from tasting one-note and heavy.
- Fresh strawberries (12, hulled and halved): The final statement—pick ones that feel firm and smell sweet, because they're the first thing people's eyes land on.
- Dark chocolate (50 g, melted): A drizzle that ties the whole cup together visually and adds a sophisticated bitter note.
- Pistachios (1 tbsp, finely chopped): Optional but worth it for that pop of color and a subtle nuttiness that feels unexpectedly luxe.
- Edible gold leaf: The optional finishing touch that makes people know you put thought into this; skip it if you want, but one small fleck transforms the whole vibe.
Tired of Takeout? 🥡
Get 10 meals you can make faster than delivery arrives. Seriously.
One email. No spam. Unsubscribe anytime.
Instructions
- Set up your stage:
- Line your mini muffin tin with paper liners—this one small step means you get to pop these cups out later without any sticking drama. Trust me, future you will be grateful.
- Build the chocolate foundation:
- Mix your crushed biscuits with melted butter until it looks like damp sand, then press firmly into each liner about a third of the way up. The firmness matters more than you'd think because a loose base means your filling will sink and crack.
- Let the base set:
- Pop these into the fridge for ten minutes while you move on to the next step. This isn't time you're wasting; it's you learning patience, which is what good baking really teaches.
- Create the cloud:
- Beat your room-temperature cream cheese until it's genuinely smooth and creamy—this takes maybe three minutes and transforms it from clumpy to silky. Add the heavy cream, powdered sugar, vanilla, and lemon juice, then beat again until you have something that looks almost mousse-like in texture.
- Fill with intention:
- Spoon or pipe the filling onto each chilled base, and smooth the tops with the back of a spoon dipped in warm water for a professional look that feels surprisingly satisfying. Don't overfill; leave a tiny bit of space for the strawberry.
- The long chill:
- This is where patience becomes your best ingredient; at least two hours in the refrigerator firms everything up and lets the flavors actually meld together. Plan ahead, and you won't be waiting around with hunger setting in.
- The final flourish:
- Top each cup with a strawberry half, then drizzle with melted dark chocolate in whatever pattern feels right to you—doesn't have to be perfect to look intentional. Add the pistachios and gold leaf, and suddenly you have something that belongs in a magazine.
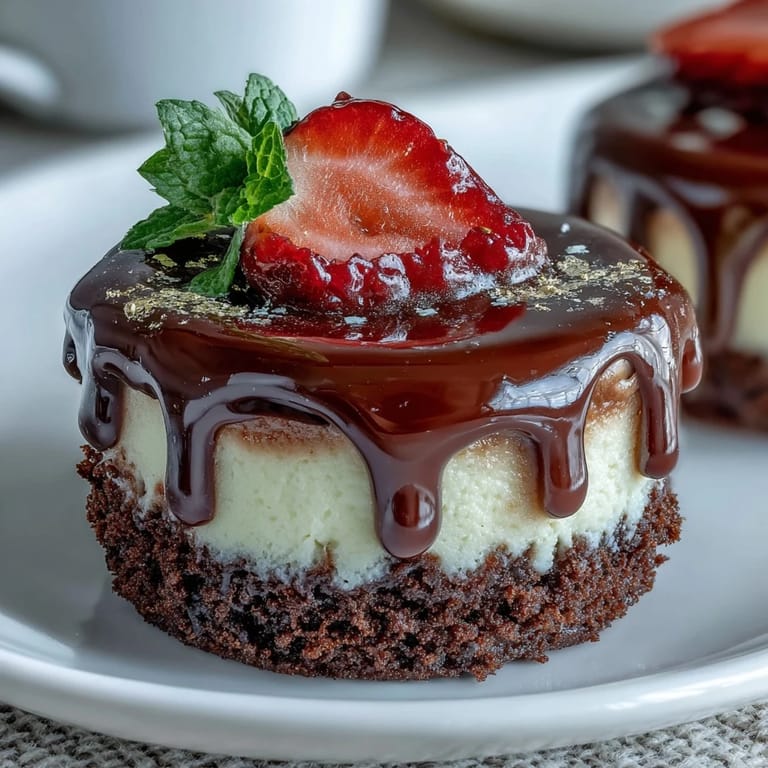
 Save to Pinterest
 There's something about handing someone one of these tiny cups and watching their expression shift from "oh, cute" to "oh, this is actually incredible" that never gets old. It's the moment you realize elegant doesn't mean complicated.
The Beauty of Mini Desserts
Making desserts in miniature changed how I think about portions and presentation—smaller doesn't mean less impressive, it often means more memorable. A huge slice of cheesecake can feel overwhelming, but a perfect little cup feels like a gift you give yourself or someone else.
Flavor Variations That Work
While strawberry is my go-to, I've had success with raspberries for a slightly tarter bite, blueberries for something more subtle, and even fresh passion fruit pulp drizzled on top for when I want to feel extra adventurous. The filling itself is flexible too—a pinch of cardamom adds Middle Eastern warmth that feels very on-brand for the Dubai inspiration, while a tiny bit of espresso powder deepens the chocolate notes.
Making These Your Own
The magic of this recipe is that it invites personalization without requiring it—you can keep things simple or layer in complexity depending on your mood and who you're serving. Every time you make them, you'll probably think of something new to try next time, and that's exactly how recipes become part of your kitchen personality.
- If you want extra richness, brush a tiny bit of melted dark chocolate onto the inside of the paper liners before pressing in the biscuit base.
- Prepare the filling and bases the day before, then assemble and chill the final cheesecake layers just hours before serving for maximum freshness.
- Keep any extras in an airtight container in the fridge for up to three days, though they're rarely around that long once people discover them.
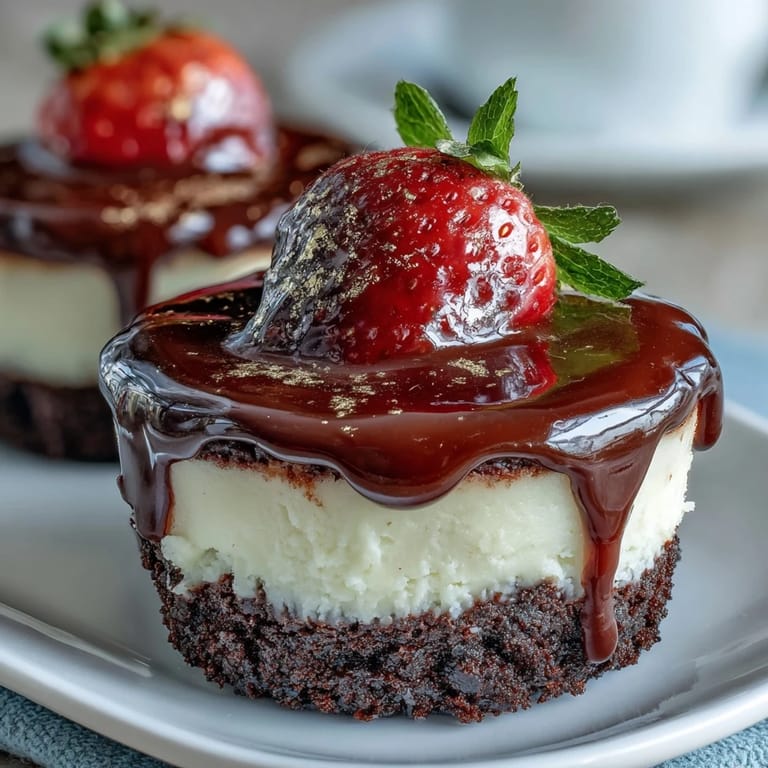
 Save to Pinterest
 These little cups proved to me that you don't need complicated techniques or exotic ingredients to create something that feels genuinely luxurious and memorable. Make them once, and they'll become your answer to every "what should I bring" question.
Recipe FAQs
- → What type of biscuits work best for the base?
Chocolate digestive biscuits provide a sturdy, flavorful base that complements the creamy filling well.
- → Can I substitute strawberries with other fruits?
Yes, raspberries or blueberries make excellent alternatives that add a fresh fruity contrast.
- → How long should the cups chill before serving?
Allow at least 2 hours in the refrigerator so the filling sets firmly for the best texture.
- → Is it possible to add a unique flavor to the filling?
Adding a pinch of cardamom to the filling brightens the taste and adds a subtle aromatic twist.
- → What tools are essential in making these cheesecake cups?
A 12-cup mini muffin tin, mixing bowls, and an electric mixer or whisk are needed to prepare and shape the cups.
- → Are these mini cheesecake cups suitable for vegetarians?
Yes, they contain no meat or gelatin and fit well within a vegetarian diet.