 Save to Pinterest
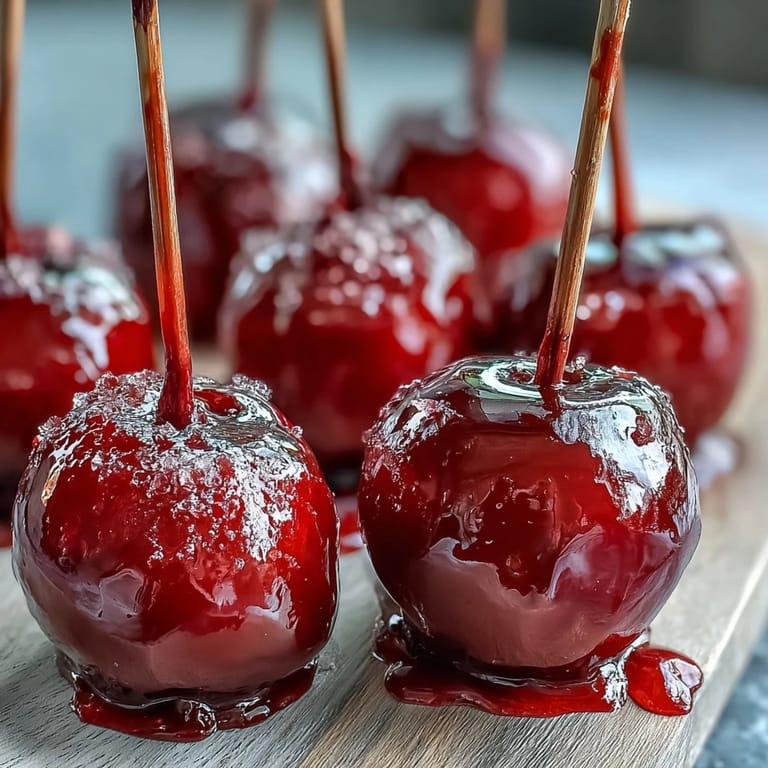
 My daughter came home from school talking about a friend's birthday party where everyone got candy apples on sticks, and suddenly I was the parent tasked with making them look just as magical. What struck me most wasn't the difficulty—it was how her face lit up when she watched the sugar transform from a bubbling amber liquid into a glossy red shell. These mini versions turned out to be the perfect size for little hands, and somehow they became the thing everyone remembered about that afternoon.
I made these for the first time during a rainy Saturday when the kids were restless, and it turned into this unexpectedly calm cooking moment—everyone gathered around the stovetop, watching the sugar bubble and change color. The kitchen smelled like pure sweetness, and there was this quiet focus as we dipped each apple and waited to see how the candy would coat. By the time we were done, we had these shiny little gems lined up like a row of edible jewels, and the kids insisted on eating them right then, sticks and all.
Ingredients
- Small apples (Gala, Fuji, or crabapples): The smaller they are, the quicker they coat and the easier they are to hold—I learned this the hard way with oversized granny smiths that took forever to cool.
- Granulated sugar: This is what creates that hard candy shell, and measuring it precisely makes all the difference between a coating and a sticky mess.
- Light corn syrup: It prevents crystallization and keeps the candy glossy instead of grainy, which I didn't understand until my first batch turned out chalky.
- Water: Just enough to dissolve everything and get the mixture to the right temperature.
- Red gel food coloring: Gel stays vibrant and doesn't thin out the candy like liquid coloring would—the color stays true and jewel-like.
- Wooden sticks: Make sure they're sturdy enough to hold the weight without snapping, and push them in firmly so they don't spin around when you're dipping.
- Nonstick cooking spray or parchment paper: This saves you from peeling hardened candy off your baking sheet, which is tedious and frustrating.
Tired of Takeout? 🥡
Get 10 meals you can make faster than delivery arrives. Seriously.
One email. No spam. Unsubscribe anytime.
Instructions
- Prepare your apples:
- Wash and dry them completely—any moisture will make the candy coating slide right off. If you're using larger apples, halve them and scoop out the seeds so the stick has something solid to grip into, then push each stick in firmly so it's really secure.
- Set up your cooling station:
- Line your baking sheet with parchment paper or use a silicone mat, and give it a light spray of nonstick spray so the apples don't stick.
- Combine your candy base:
- In a medium saucepan, stir together the sugar, corn syrup, and water over medium heat until the sugar dissolves completely and the mixture looks smooth and clear. This usually takes a few minutes, and you'll notice the sound changing from grainy to glossy.
- Cook to hard crack stage:
- Turn the heat to high and let it boil without stirring—I know it's tempting to stir, but don't. Once your candy thermometer reads 290°F (around 143°C), you're at hard crack stage, which is where the magic happens. Watch it carefully because this happens faster than you'd think, usually in about 8 to 10 minutes.
- Add your color:
- Pull the saucepan off the heat and carefully stir in the red gel coloring until it's evenly distributed throughout the hot syrup. The red deepens as it cools slightly, which is beautiful to watch.
- The dip:
- Working quickly now—the syrup is still hot and workable—dip each apple stick-first into the candy coating, swirl it to coat all sides evenly, then let the excess drip back into the pan before setting it on your prepared sheet. If you hesitate, the coating will start to set on the apple, and you'll get uneven coverage.
- Cool completely:
- Leave them at room temperature for about 10 minutes until the candy shell hardens completely and turns that satisfying hard crunch.
 Save to Pinterest
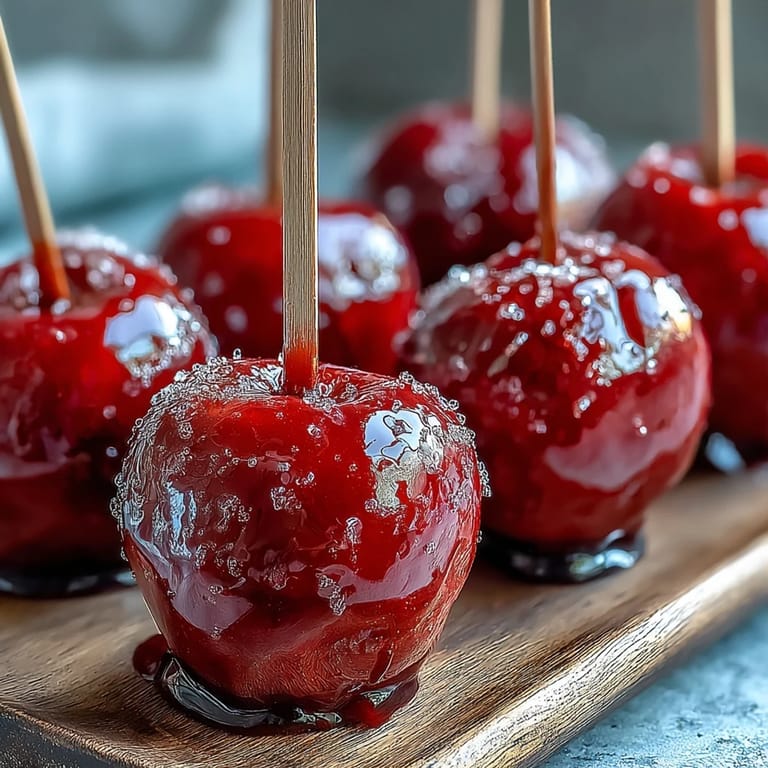
 The moment my son took his first bite and that candy shell cracked between his teeth, he looked at me like I'd invented something revolutionary. It was just a candy apple, but somehow these little sticks became the thing kids asked for instead of regular desserts, and now they're what I make whenever I need to feel like I've actually impressed someone in the kitchen.
Timing It Right
The whole process from start to finish takes about 30 minutes, which means you can make these between school pickup and dinner with time to spare. The longest part is actually the cooling, so if you're making them for a party, you can prep everything hours ahead and do the dipping just before serving while the candy is still fresh and glossy. I've learned that dipping them right before people eat them gives you that perfect moment where the shell is hard but still has that satisfying snap.
Customizing Your Creation
After that first batch of red, I started experimenting with different colors and toppings, which is where this recipe really became fun. You can use any gel food coloring—green for a lime look, blue for something more whimsical, even purple if you're feeling fancy. The real magic happens when you dip the freshly coated apple into sprinkles, crushed cookies, or chocolate chips while the candy is still slightly tacky, giving you these textured, jewel-like treats.
Safety and Handling
Hot candy syrup is genuinely dangerous, so I always keep kids at arm's length during the actual dipping part and do that step myself while they watch from a safe distance. Once the apples are cooling, they're fine for everyone to touch and admire, and by the time they're completely cooled, they're ready to eat. The wooden sticks stay cool enough to hold within just a few minutes, so there's not a long wait before people can actually enjoy them.
- Always use a candy thermometer—it's the only reliable way to know when your candy is at the right stage.
- Stir the sugar mixture only until it dissolves, then stop stirring completely to prevent crystallization.
- If the candy starts to harden in the pan before you're done dipping, gently reheat it over low heat for a minute to make it pourable again.
 Save to Pinterest
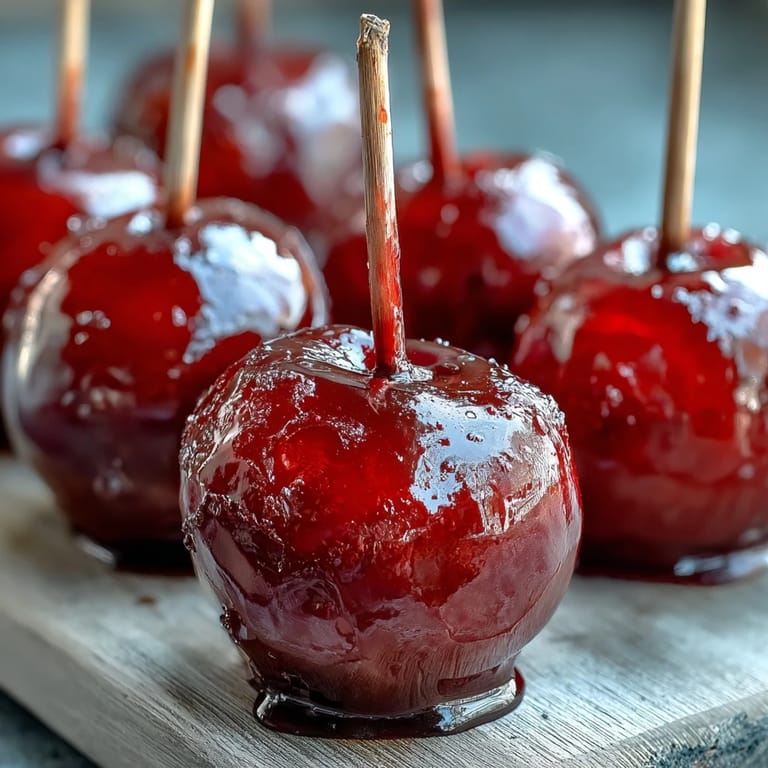
 These candy apples have a way of making any occasion feel special, probably because they look like something that takes way more skill than it actually does. They're the kind of recipe that reminds you why cooking for people you care about matters.
Recipe FAQs
- → What type of apples work best?
Small apples like Gala, Fuji, or crabapples are ideal because they’re bite-sized and easy to coat evenly.
- → How do you achieve the crunchy candy shell?
By heating sugar, corn syrup, and water to about 290°F (hard crack stage), then dipping the apples quickly to form a hard, shiny coating.
- → Can the candy coating color be changed?
Yes, you can substitute red gel food coloring with green or blue for different visual effects.
- → Is refrigeration recommended after coating?
No, refrigerating can cause the candy shell to become sticky, so it’s best to keep them at room temperature until served.
- → What are good toppings to add before candy hardens?
Sprinkles, crushed cookies, or mini chocolate chips can be added for extra texture and flavor.